Adding a Zone
You’ll need to create a Zone before you can start adding in specific Geofences. Each Zone can have one or many Geofences – that’s up to you and your use case.
1. Head to the Dashboard screen
2. Check you’re using the right Project (the Project dropdown is at the top of the screen)
3. Click the + Add Zone button
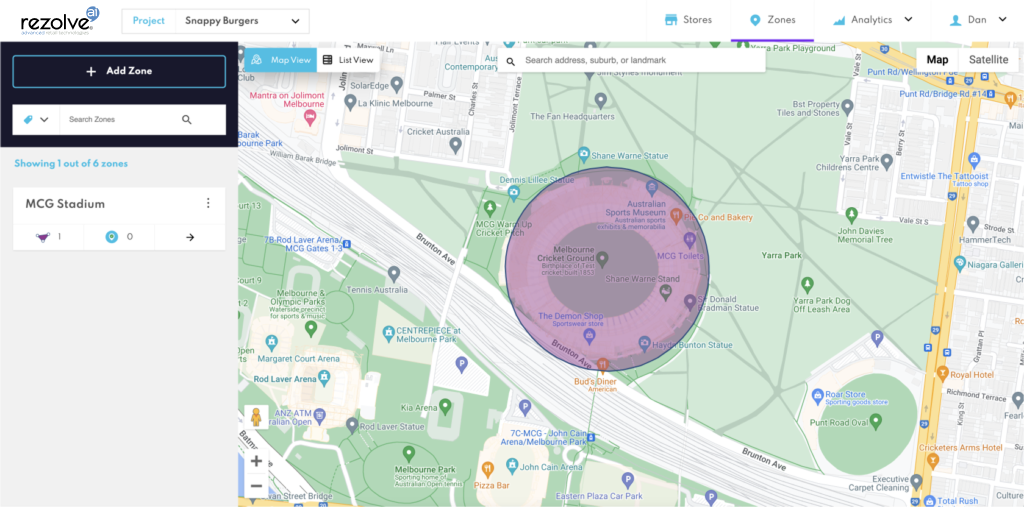
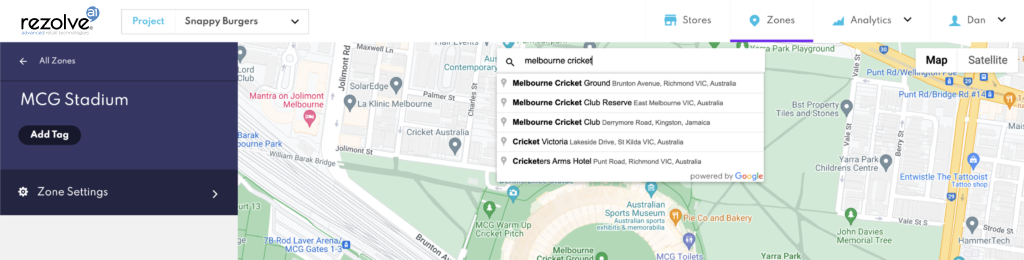
4. Give your Zone a name
5. Search for the address or point of interest (POI) where you’d like to create the geo-fence
6. Add at least one Geo-fence (learn more here)
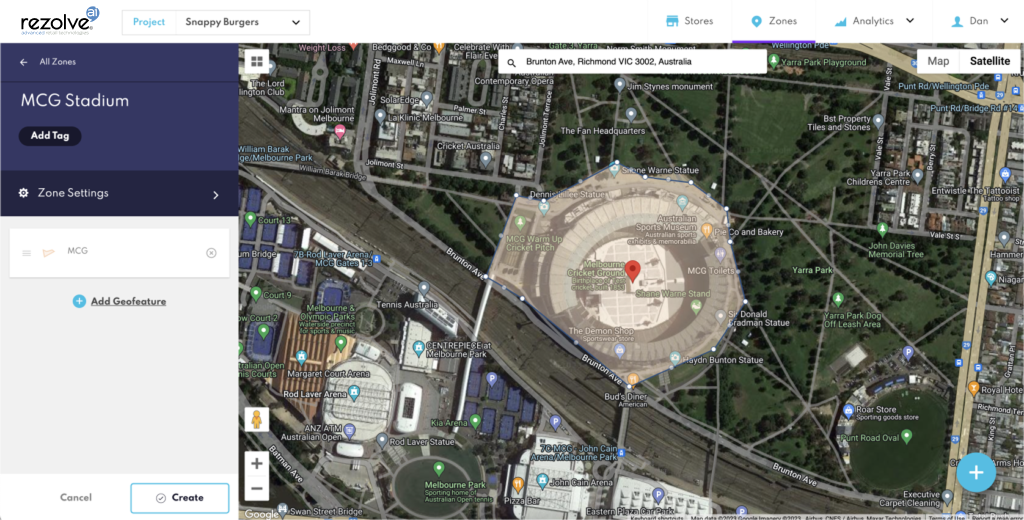
7. Click Create
At any time you head back into a Zone to:
- Add a new, additional geofence to the Zone
- Tag the Zone
- Rename the Zone
- Edit the size of the geofence
Geofeatures Size Limits
When creating a Geofence, it's important to be aware of the size limitations depending on the type of geofeature you are choosing:
- For type
circle, the minimum radius is 5 meters. - For types
boundingBoxandpolygon, the minimum area must be at least 70 square meters.
These limitations ensure that your Geofences are effective and accurate for your use case. Make sure to take these into account when adding a new Geofence to your Zone.
You can also create Zones programmatically using our Config API. Learn more about Config API.